How to create a blog post with Weebly?
Adding a blog to your website is a great way to keep your content fresh, share your opinions and knowledge, and increase visitor engagement. Best of all, you can update your blog on the go with Weebly's mobile apps:
Download for Android
Download for Apple iOs
If you haven’t already created a Blog of your own, go to the Pages tab and click the + to add a page, then select Blog.
Create a post
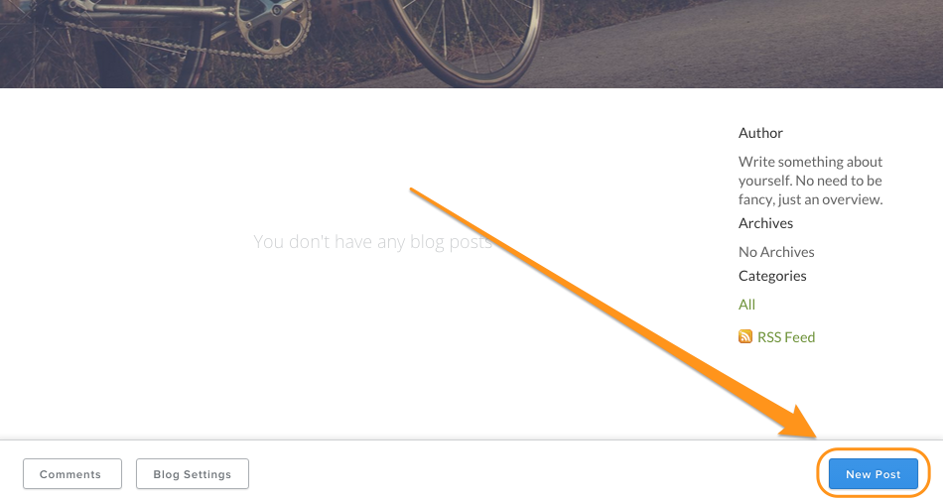
To create a New Post, click on the New Post button at the bottom of your blog page.
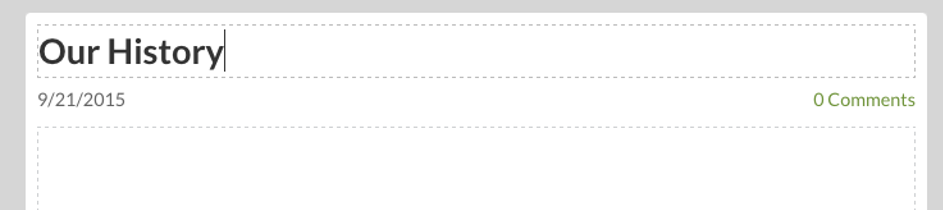
Add a title and content
Your blog post has a title and a content area. The title is like the headline of a newspaper article, so it should generally be short.
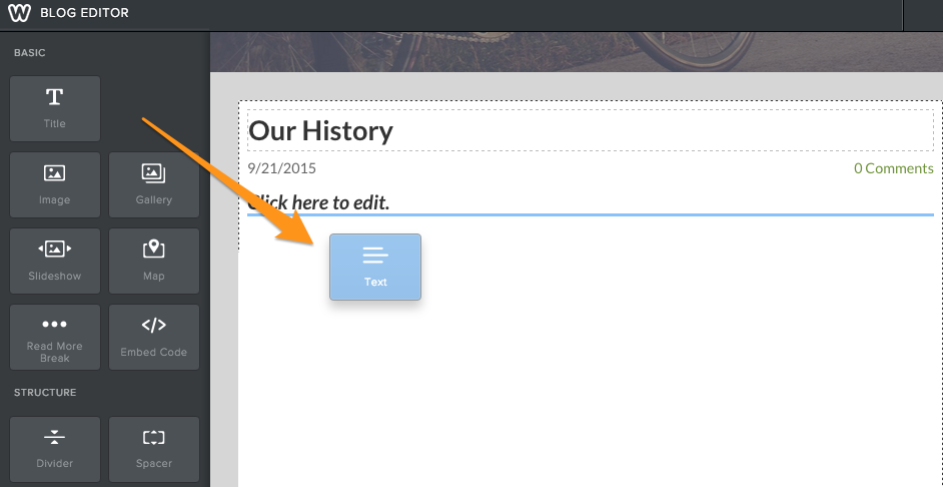
You can add content to your post in the same way content is added to a regular page. Drag elements into the post, and edit them to add content.
Add categories and tags
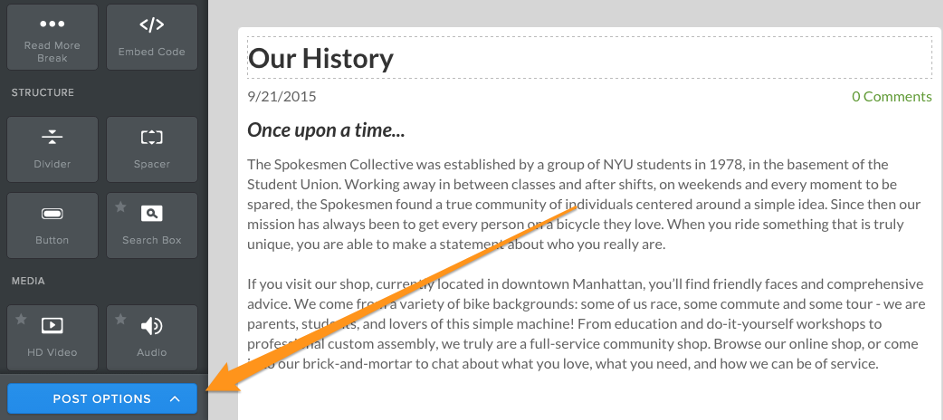
Once you've added your content you can select a variety of options for this particular post. Click Post Options.
Click Add Categories if you’d like to tag your post. These tagged categories will appear on your sidebar, making it easier for visitors to your blog to find posts that cover certain topics. Categories can be whatever you like, or you can forgo them altogether.
Schedule posts
From here, you can also schedule your post for a later date and time, and turn comments on or off.
Publish and share
When you’re all done, you have a number of options related to publishing and sharing.
In the upper right, there are two buttons: Save and Post. Clicking Post immediately publishes this Post to your website, and clicking Save will create a draft so you can go back and edit it later.
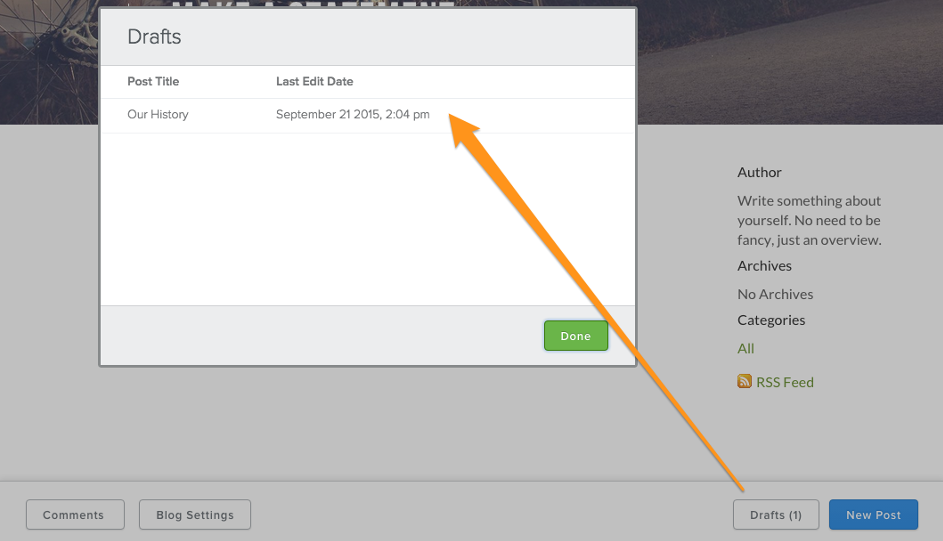
When you click Save, you’ll see a Drafts button is added to the lower right. Clicking Drafts lets you view all your works in progress to edit and post them when you’re ready.
This article is not yet rated.
Login to give us feedback
Popular Questions
- How do I add a signature to my emails (webmail)?
- What is a SSL-Certificate?
- How do I change password for an email address?
- How do I create an email account?
- How to resolve issue with DNS?
- Why has there been a lot of weird characters added to my domain name?
- Why is my domain still regarded as "Available" after I have placed my order?
- How to set out of office auto responder?
- How to import DNS/forwarders data?
- What methods of payment do you accept?
