
How to manage an address book in SOGo webmail?
NOTE: All address books administrative settings are managed through SOGo webmail interface at mail.svenskadomaner.se.
SOGo is our business webmail service as it offers address books, shared calendars, and emails for your team/company through your favourite web browser or mail client.
In this article, we will provide you with a simple guide to managing your SOGo address book.
How to access an address book?
How to do it?
- Login to your mail account using SOGo: mail.svenskadomaner.se.
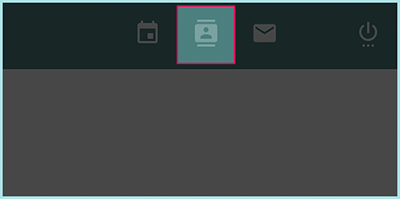
- Click the address book icon at the top right corner.
- All available address books will be visible on the left sidebar.
NOTE: For your convenience all email accounts under the same domain name are available in your Global Address Book (Hosting Address Book). There is no need to add any of your colleagues’ mails. You just need to click on Hosting Address Book and start typing the user’s name or email.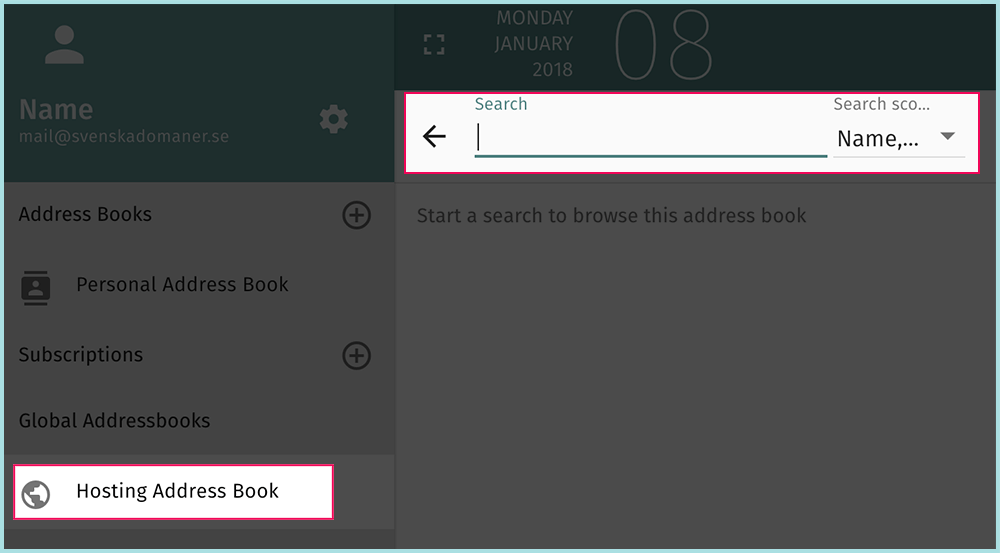
How to create a new address book?
By default, there is only one address book in your account, called Personal Address Book. You can create as many address books as you want. Follow the next steps to create a new address book.
How to do it?
- Access your webmail using SOGo mail client and click the address book icon at the top right corner.
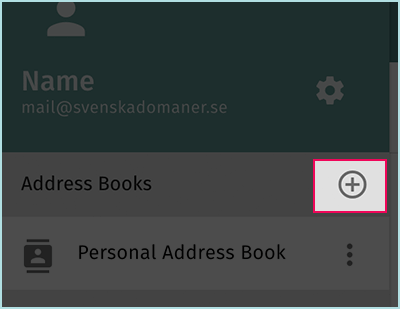
- All available address books are visible in the left sidebar. Click the plus icon next to “Address Book” section.
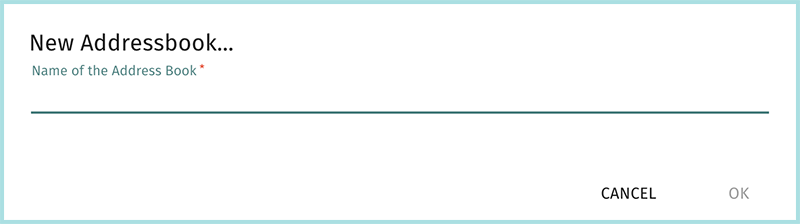
- Type the name of you new address book (for example “Clients”) and click “OK” button.
How to share your address book?
You can share any of your address books with everyone or with individual users and set different sharing rights for each one of them.
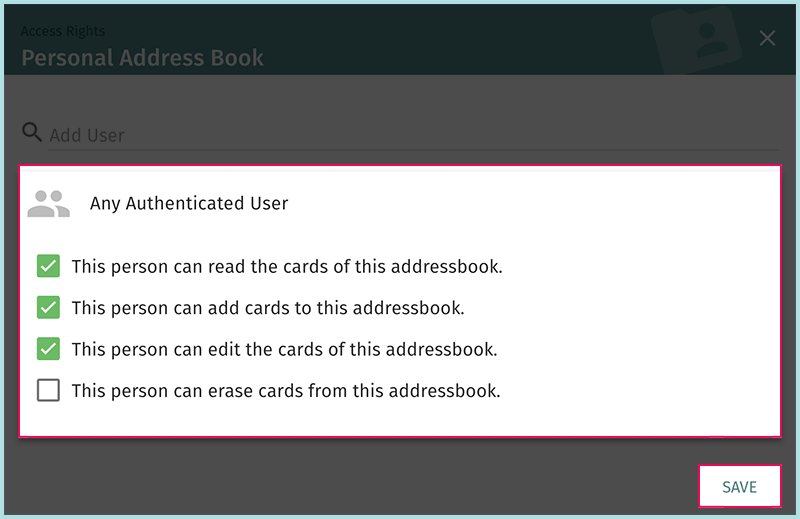
Share with any authenticated user
By choosing “Any authenticated user” you actually share your address book with any groupware account under the same domain name. Go to next section to see what are the required steps to access this type of shared address books.
How to do it?
- Access your webmail using SOGo mail client and click the address book icon at the top right corner.
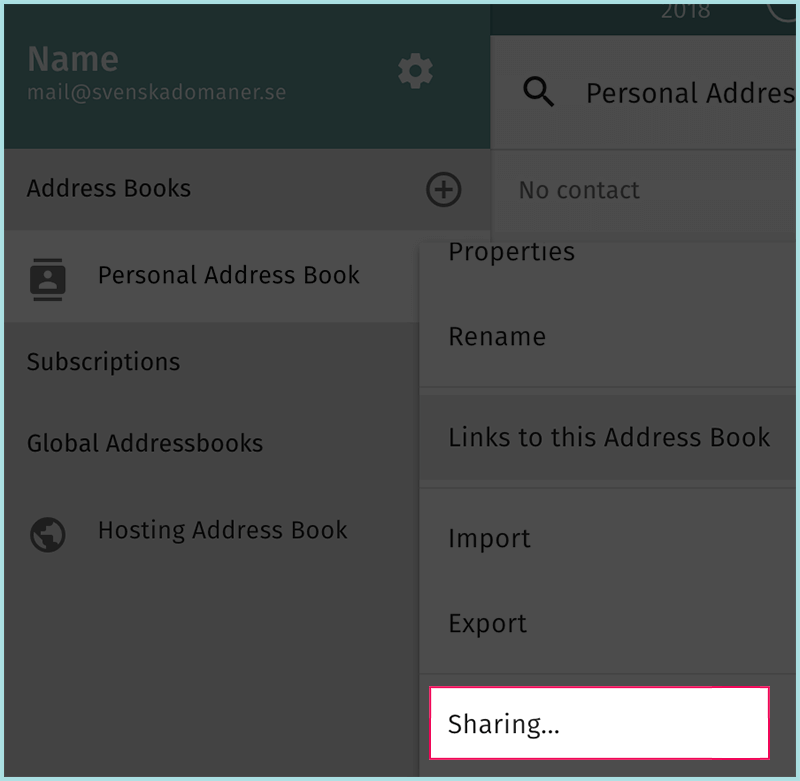
- Click on the address book you want to share. Click on the 3 dots next to it and scroll to the bottom in the menu that appears. Select “Sharing”.
- Adjust the Access rights for the shared address book according to your wishes. Click the “Save” button when you are ready.
Share with a specific user
You can add individual users who might have rights beyond the default rights for “Any Authenticated User”.
How to do it?
- Access your webmail using SOGo mail client and click the address book icon at the top right corner.
- Click on the address book you want to share. Click on the 3 dots next to it and scroll to the bottom in the menu that appears. Select “Sharing”.
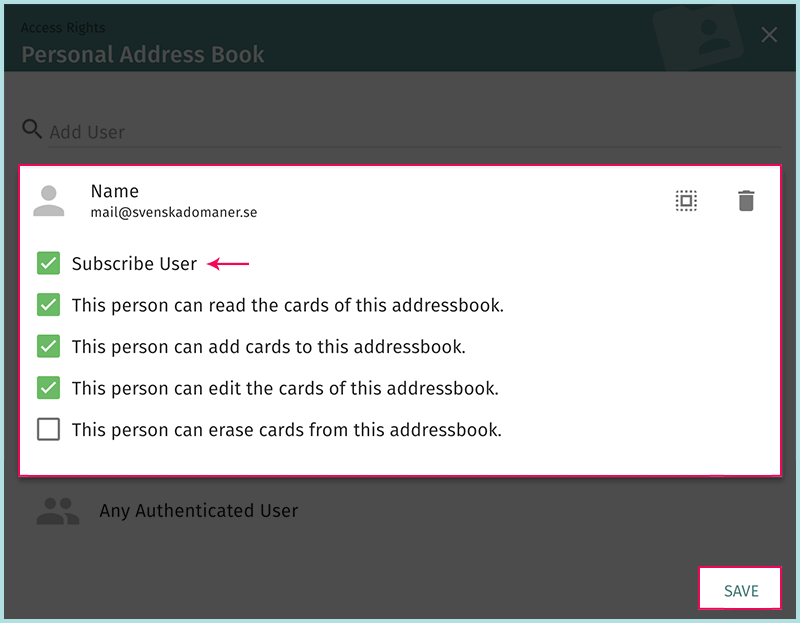
- Start typing a user’s name or email in the search field. Select the user you want from the search results.
- Make sure the checkbox “Subscribe user” is selected. This will automatically add the address book to user’s account, otherwise he has to manually add it following the steps in next section.
- Adjust the Access rights for the shared address book according to your wishes. Click the “Save” button when you set all the options.
Repeat as needed to add additional users.
How to add a shared address book?
Follow the next steps to access a shared address book.
How to do it?
- Access your webmail using SOGo mail client and click the address book icon at the top right corner.
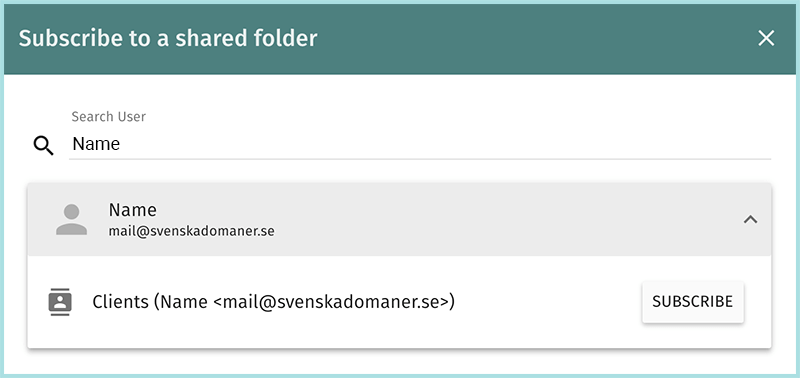
- All available address books are visible in the left sidebar. Click the plus icon next to “Subscriptions” section.
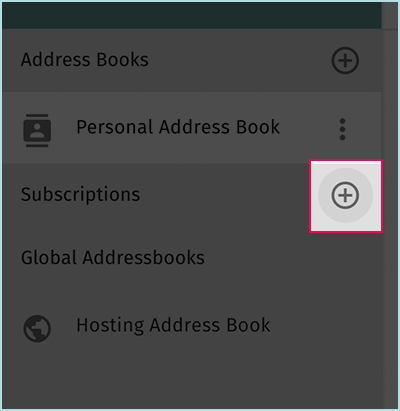
- Start typing a user’s name or email in the search field. Select the user you want from the search results. You’ll see a list of his shared address books. Click the subscribe button next to each address book you wish.
Repeat as needed to add shared address book from other users.
How to sync an address book across multiple devices?
The default address book (Personal Address Book) in your account is automatically synchronized with other devices. For all other address books, including shared, you need to explicitly activate visibility through ActiveSync.
How to do it?
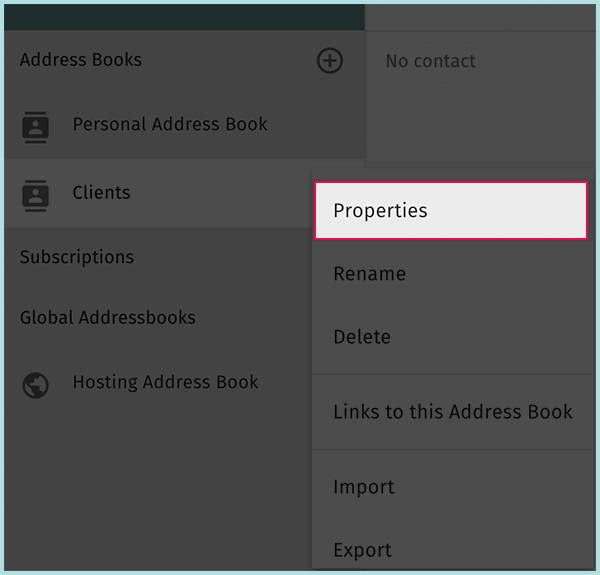
- Access your webmail using SOGo mail client and click the address book icon at the top right corner.
- Click on the address book you want to share. Click on the 3 dots and select “Properties”.
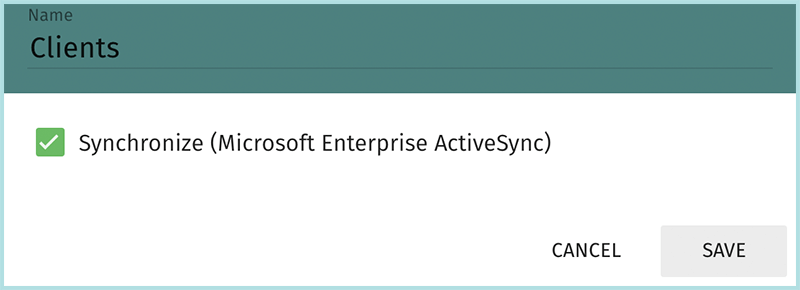
- Make sure that the checkbox “Synchronize (Microsoft Enterprise ActiveSync)” is selected. Click “Save” button.
Repeat as needed for any address book you wish.